

How to Apply False Lashes Without Losing Your Cool
False lashes can take your makeup game from casual to stunning in just minutes—but only if you know what you’re doing. If you’re new to wearing false lashes, the application process can quickly turn into a frustrating experience. Glue everywhere, lashes falling off, uneven placement—it happens to everyone at some point. But with the right tips, tools, and a little patience, applying false lashes can become second nature. Here’s exactly how to put them on without breaking a sweat (or wanting to toss them across the room).
Choose the Right False Lashes (Seriously, It Matters)
First things first: picking the right set of lashes can make or break your experience. For beginners, overly dramatic lashes with thick, stiff bands are usually more trouble than they’re worth. Instead, opt for something lightweight and flexible with a natural shape. The DYSILK false lashes from Amazon are a great choice if you want something like this.
Half lashes (sometimes called “demi lashes”) are a fantastic starting point because they’re shorter, easier to manage, and blend effortlessly with your natural lashes. Plus, they’re far less intimidating when you’re just starting out. Once you’ve got some practice, you can gradually experiment with fuller styles.
Also, check out the lash band—thin, clear, flexible bands are a lot easier to handle. Thick black bands can be uncomfortable and harder to keep in place, especially for beginners. Comfort counts, especially if you’re wearing them for a long event or night out.
Prep Your Natural Lashes
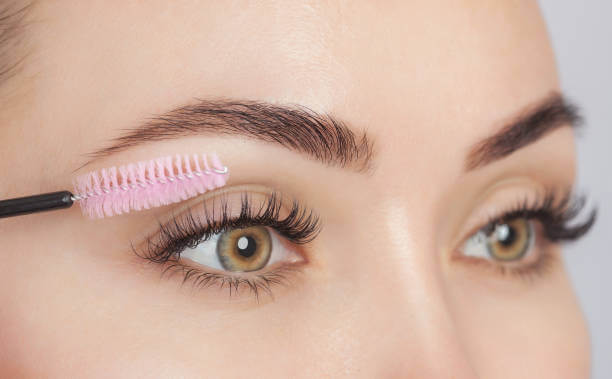
Your real lashes need a little love before you apply the false ones. A gentle curl and a thin coat of mascara provide a stable base for your falsies to hold onto. When you curl your lashes, press gently and slowly move upwards for a natural lift that blends smoothly into your falsies.
Use mascara sparingly—you want just enough to give your lashes some definition and grip, but not so much that they’re clumpy. Excess mascara can actually make applying false lashes harder and less comfortable.
Measuring and Trimming Is Key
This step is crucial but often overlooked by beginners. Lash strips are rarely the perfect length right out of the box, so you’ll probably need to trim them. Hold the lash strip along your lash line without glue to figure out how much length to remove. A good rule of thumb is to start slightly inward from your inner corner, ending just at your outer lash line—never extending past it.
Carefully trim the excess from the outer edge of the strip with small, precise cuts. Take it slow, removing only tiny amounts at a time to avoid cutting them too short. Remember, you can always trim more, but you can’t add it back.
Applying Lash Glue Like a Pro
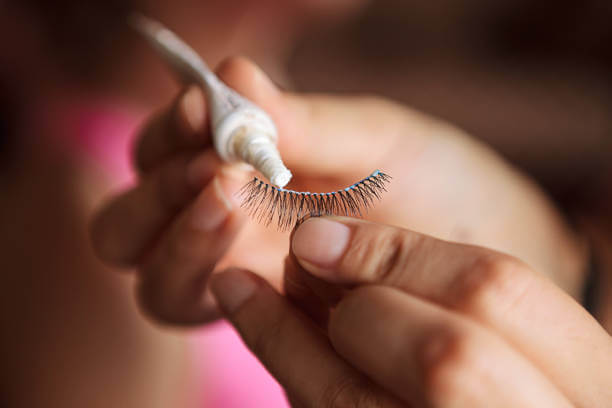
The right amount of glue makes all the difference between a neat, secure fit and a sticky mess. Apply a thin, even line of glue along the lash band, giving a little extra attention to the ends—they often lift first. Don’t apply your lashes right away. Wait about 30 seconds for the glue to get tacky. This small pause makes it much easier to position your lashes without slipping or sliding around.
Choose clear or black glue depending on your makeup look. Clear glue is usually best for beginners, while black glue is great if you’re wearing liner—it blends seamlessly and hides any glue residue.
Placement Without Panic
This is usually the most nerve-wracking part—but it’s easier than it seems. A great trick is to look down into a mirror placed slightly below your chin. With your eyes partly open, you’ll clearly see where to place your lashes. Using tweezers or a lash applicator, gently position the lash strip at the center of your lash line first, then press down the inner and outer corners.
Don’t rush this. Take your time adjusting until you feel comfortable with the position. Remember, it’s completely okay if it takes a couple of tries at first—practice really does make perfect.
Blending and Finishing Touches
Once your lashes are secure, blending them with your natural lashes creates a polished look. Gently apply another thin coat of mascara to merge the false lashes with your natural ones, filling any noticeable gaps.
If you see any glue or band sticking out, a thin line of eyeliner along your lash line can disguise that easily. It also adds an extra level of definition and smoothness, tying your entire look together.
Final Thoughts: Stay Calm and Keep Practicing
Applying false lashes effortlessly takes a little patience and some trial-and-error—but it’s completely doable. Follow these simple steps, and you’ll quickly become confident enough to apply your lashes in minutes without stress. Soon enough, false lashes will become your favorite beauty trick for an instantly enhanced look, whether you’re heading out for brunch or a big night.
The secret? Keep your cool, take your time, and remember: even the best makeup artists didn’t master false lashes overnight.


")

